

Statistics show that the most effective landing pages have a conversion rate of about 5.31%. In today's dynamic realm of digital marketing, achieving significant conversions on your landing pages is paramount.
Since the Google Analytics landing page serves as the entry point for potential customers, understanding the landing pages report in Google Analytics is crucial. It provides you with valuable insights into how your landing pages are performing.
With the introduction of GA4, you can harness the power of data to optimize your landing pages. As a result, you can enhance your overall marketing strategy. Below is a guide that explores how to create Google Analytics landing pages for optimal results.
{{fs-cta-pro-tip}}
Landing pages are the first pages that users see when they visit your website. They are an important part of your marketing strategy, as they can help you attract new customers and convert them into leads or sales.
Google Analytics 4 (GA4) provides a number of reports that can help you track the performance of your landing pages. Below, we'll show you how to create a landing pages report in GA4.
Standard reports are organized by data sets, which are collections of related data. For example, the "Landing Pages" data set contains data about the pages that users visit on your website.

Each standard report has a set of metrics and dimensions. Metrics are quantitative measures of your data, such as the number of page views or the average time spent on page. Dimensions are qualitative descriptions of your data, such as the page URL or the user's device type.
Here's how to create a standard report.
Step 1: Log in to your Google Analytics 4 Account
Start by logging in to your GA4 account. Ensure that you have the necessary permissions to customize reports.
Step 2: Open the Life Cycle > Traffic Acquisition Report
Once you're logged in, navigate to the "Life Cycle" section in the left-hand menu. Click on "Traffic Acquisition" to access the report.
Step 3: Click the Pencil Icon to Customize Your Report
Look for the pencil icon located at the top right corner of the report. Click on it to enter the customization mode.
Step 4: Select Dimensions > Add Dimension > + Landing Page
In the customization mode, locate the "Dimensions" option. Click on it, then select "Add Dimension". From the list that appears, choose "+ Landing Page" to add the landing page dimension to your report.
Step 5: Set Landing Page as the default
To ensure that the landing page dimension is always included in your report, click on the three vertical dots next to the dimension. Once you’re done select, "Set as default".
Step 6: Choose Your preferred visualization
Decide whether you want a bar graph, line chart, or both to represent your data. This choice will depend on your preferences and the insights you want to derive from the report.
Step 7: Customize Metrics to Suit Your Needs
Review the metrics displayed in the report and tailor them to match your requirements. Remove any unnecessary metrics. Ensure you focus on the ones that provide the most valuable insights for your landing pages.
Step 8: Save Your Changes
After making all the necessary customizations, click on the "Save" button. You'll see a dropdown menu, select "Save as a new report".
Step 9: Name Your Report: "Landing Page: Traffic Acquisition"
Give your customized report a meaningful and descriptive name. We recommend a name like "Landing Page: Traffic Acquisition" to reflect its purpose.
Step 10: Open the GA4 Report Library
You can now navigate to the report library within GA4. Also, you can find this option in the left-hand menu.
Step 11: Edit the Life Cycle Collection
Look for the "Life Cycle Collection" in the report library. Click on it to open the collection for editing.
Step 12: Drag and Drop Your Landing Page Report Under Traffic Acquisition
Finally, locate your newly created landing page report and drag it to the "Traffic Acquisition" section. It’s within the Life Cycle Collection. This step ensures that your report is easily accessible from the main navigation.
{{fs-cta-testimonial}}
An exploration report is a custom report in Google Analytics 4 (GA4) that allows you to track specific metrics and dimensions and customize the way your data is displayed. Exploration reports are more flexible than standard reports, but they require more technical knowledge to create and use.

To create an exploration report, you first need to select the data set that you want to track. Then, you can add metrics and dimensions to the report. Metrics are quantitative measures of your data, such as the number of page views or the average time spent on page. Dimensions are qualitative descriptions of your data, such as the page URL or the user's device type.
Once you have added metrics and dimensions to the report, you can customize the way your data is displayed.
Step 1: Go to the 'Explore' Section
In Google Analytics, navigate to the 'Explore' section. You will find it in the main navigation menu.
Step 2: Create a New Blank Report
Within the 'Explore' section, select the option to create a new blank report. This will allow you to start from scratch and design a customized exploration report.
Step 3: Name the Report
Give your report a suitable name, such as 'Landing Pages'. This will help you easily identify it later.
Step 4: Enable Dimensions and Metrics
To include the relevant data in your report, click on the plus sign. It’s next to the 'Dimensions' and 'Metrics' options. This will open up a list of available landing page dimensions and metrics that you can choose from.
Step 5: Choose a Dimension
Select the dimension that best suits your needs. You have several options to choose from, including:
Each dimension provides different insights about landing pages.
Step 6: Select Metrics
Choose the 'Entrances' metric. The metric represents the number of times each page was viewed as the first page in someone's session on your website. It helps you understand how frequently each landing page is accessed.
Step 7: Add Additional Metrics
Optionally, you can include other metrics in your report. Consider metrics like 'Views', 'Engagement Rate', 'Views per User', or more. It will help you gain a more comprehensive understanding of your landing pages.
The exploration report in GA4 offers more flexibility and customization options compared to the standard landing page report. Here's why it is advantageous:
The Exploration Report offers a comprehensive collection of data points. This allows marketers to delve deeper into user behavior and website performance.
Unlike the standard Landing Page Report, the Exploration Report provides a broader view of the entire user journey. It captures data from multiple touchpoints, including:
With this information, you can create a holistic understanding of user interactions. Additionally, you can identify patterns that can optimize your digital data-driven marketing efforts.
Delivering an exceptional user experience is paramount. The Exploration Report often highlights the steps users take throughout their journey.
When you understand how users interact with your website, you can optimize the user experience accordingly. This allows you to create a seamless journey that enhances user satisfaction.
While the standard Landing Page Report offers a default set of metrics, the Exploration Report allows marketers to customize metrics. You can add, remove, or modify Google Analytics 4 metrics to suit your specific needs.
As a marketer, this flexibility empowers you to focus on the metrics that matter most to your campaigns. You can also obtain data insights tailored to your unique objectives.
With the proliferation of digital platforms, you need to optimize your campaigns across various channels. The Exploration Report can come in handy as it captures data from multiple platforms and touchpoints.
It enables you to analyze the performance of digital ads and content across different platforms, such as social media or search engines.
The Exploration Report goes beyond surface-level data by providing actionable insights. When you analyze the patterns discovered through exploration, you can identify opportunities for optimization. As a result, you can take proactive steps to improve your campaigns.
{{fs-cta-integrations}}

The Google Analytics landing page report provides valuable insights into your site’s performance. Here's how you can use this report effectively:
Sort the report by metrics such as conversions, bounce rate, or goal completions. It will help you identify landing pages that are performing well. These pages drive the most engagement and conversions, indicating successful user journeys.
Look for landing pages with high bounce rates or low conversion rates. These pages may need optimization to improve user experience, content relevance, or call-to-action effectiveness.
To understand how engaging your landing pages are, analyze metrics like:
Higher engagement rates suggest that visitors find the content valuable. They are also more likely to convert.
Low entrance numbers indicate issues with discoverability or navigation. Consider optimizing internal linking and improving SEO. You can also promote these landing pages through various channels to increase visibility.
This metric reveals how long visitors spend on your landing pages before leaving. A longer average engagement time suggests that users are finding the content compelling.
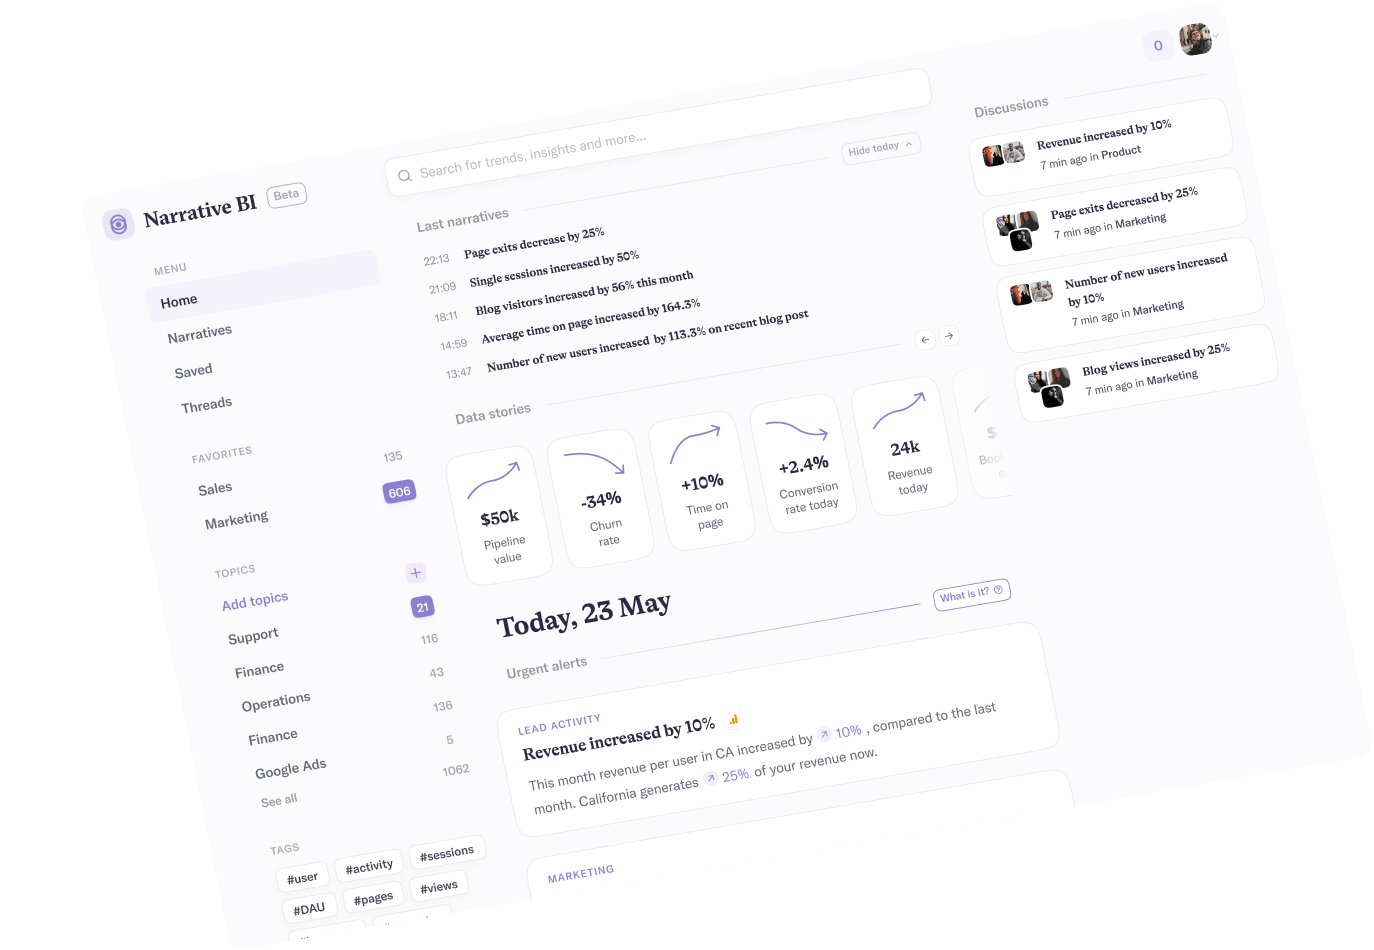
Discover Narrative BI — the game-changing marketing reporting platform with advanced analytics capabilities. Say goodbye to standard GA4 landing page reports and embrace comprehensive insights that drive results. Take the leap towards data-driven success and sign up for a free trial today!
Still have questions about GA4? Below are some frequently asked questions to help you out.
In Google Analytics 4 (GA4), landing pages and page paths are two important metrics that can help you understand how users interact with your website. The landing page is the first page a user visits when they land on your website, while the page path is the sequence of pages a user visits during a single session.
While these two metrics are often used interchangeably, there is a key difference between them. The landing page is a dimension, while the page path is a metric. This means that the landing page shows you the specific pages that users landed on, while the page path shows you how many times users visited each page.
The information in the Landing Pages report is session-scoped. It provides insights into the behavior of users within a specific session. This includes their interactions with landing pages.
To track user behavior after visiting a landing page, you can use the navigation summary in Google Analytics. Additionally, you can set up conversion goals to track specific actions users take after visiting a landing page, such as purchases.


 Pro Tip
Did you know that Narrative BI makes tracking your marketing performance effortless? It connects to your digital marketing channels and generates automated reports and alerts.
No more manual work, spreadsheets, and data silos. Narrative BI generates natural language insights in an easy-to-read format so you can focus on growth.
Try Narrative BI for freeConnect your favorite data sources in two clicks and start receiving marketing reports and actionable insights today!
Connect your data sources

Google Analytics is ultra-powerful when it comes to managing our clients’ MarTech stacks, but it’s easy to get lost in the overwhelming amount of data there. Narrative has given us a way to get “just the good stuff”, and the most important metrics we need for making daily decisions on behalf of my agency’s clients from Analytics to Ad Spends. The condensed insights we get from Narrative are incredibly helpful, and now indispensable in our daily mix of tools.


Narrative firstly is a great tool for beginners in marketing analytics - it allows all of our team - even non-technical / analytical get involved! As Mark Ritson said, 'The average is the enemy of the marketer' and Narrative helps us fight that battle every day. Instead of wading through averages, we can spot and evaluate the outliers, the true insights.


